Before and After – Driveway Transformations
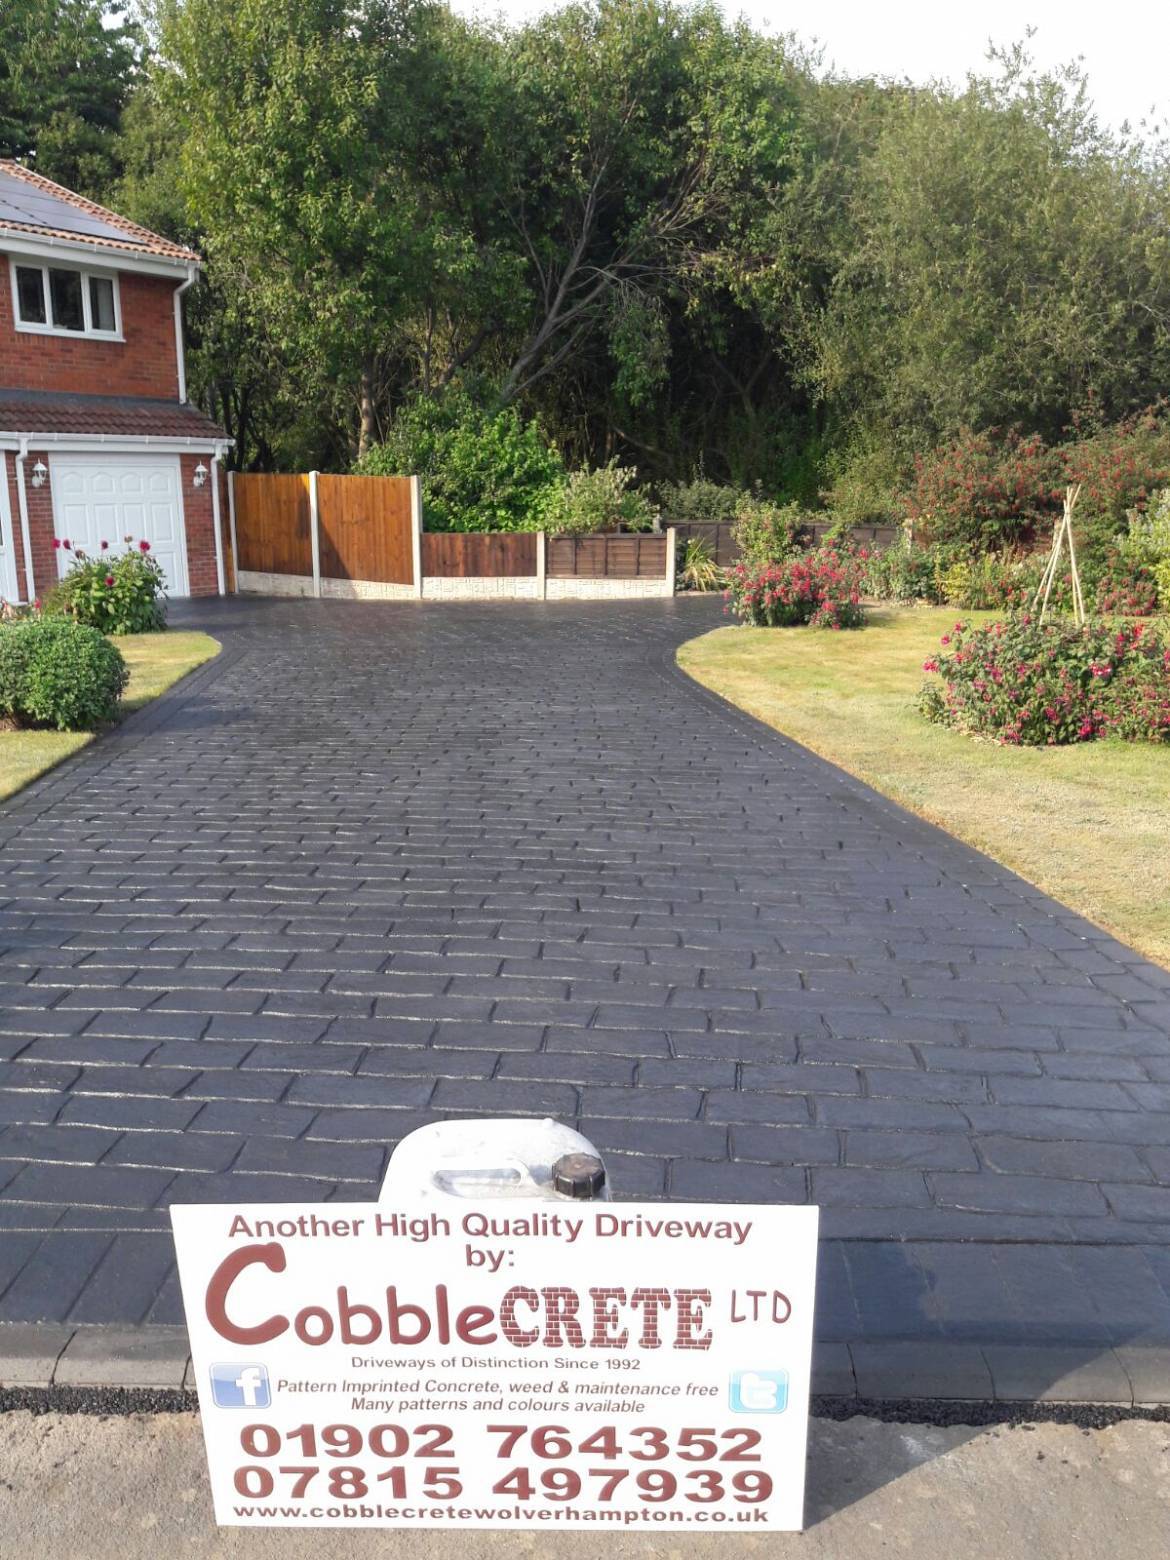
Here at Cobblecrete, we specialise in transforming tired driveway spaces into something truly unique and eye-catching.
Using our years of experience we can create stunning designs that can blend different patterns and colours to stunning effect.
Take a look at our before and after pictures from Cobblecrete and how we have breathed life into the front of plenty of homes. If you’ve got any questions about driveway design or installation please contact us today to speak to one of our team of specialists.
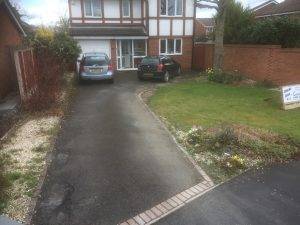
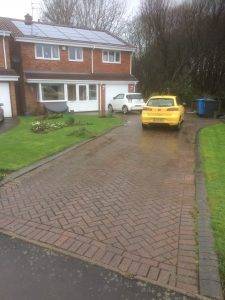
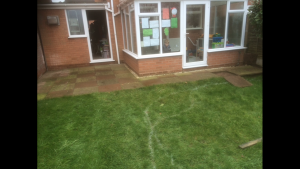
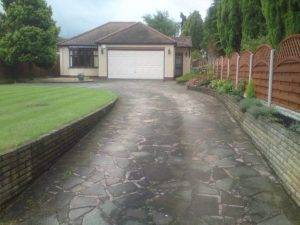
Before
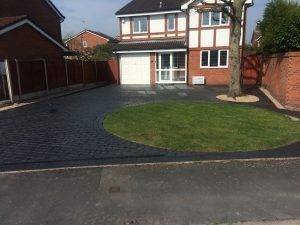
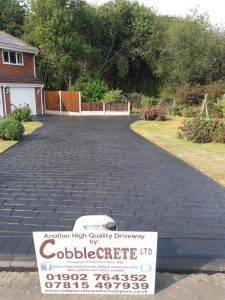
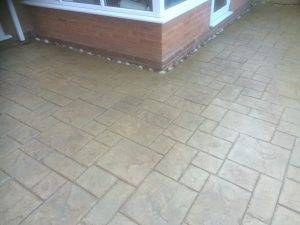
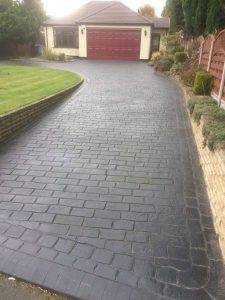
After
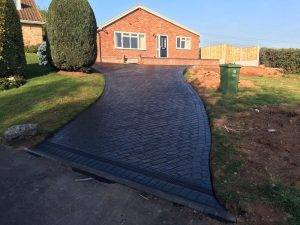
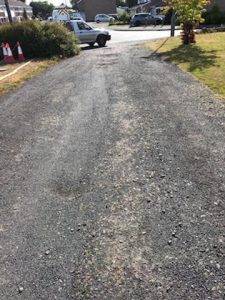
Before
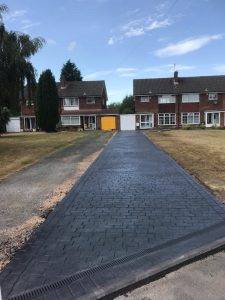
After
Before
After
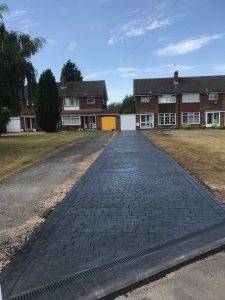
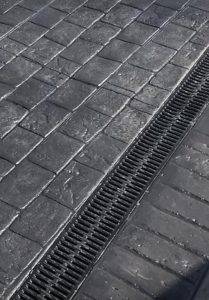
Slate blue old English cobble
Before
After
Before
After
Before
After
Before

After
Before
After
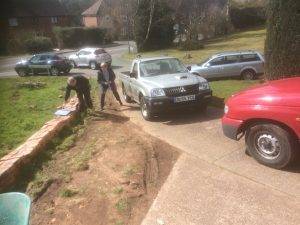
Our Process
Here are the 7 steps we undertake to get driveways right across Wolverhampton a face-lift –
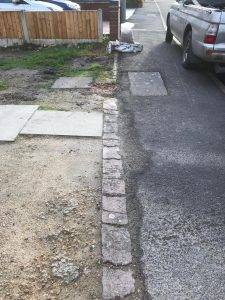
Excavation
Driveways require a deeper excavation than patios or walkways due to the load of the vehicles. This can be around 14 inches, but this will vary from property to property depending on the type of soil. Clay soils require more whereas sandy soil requires less excavation.
Base Material
The driveway area will now be filled with the base material (usually roadstone) that’s free draining so water moves away from the surface. The roadstone will also need to be extended 6 inches beyond the edge of the driveway. We will then test to see if this is strong enough to handle vehicle loads.
Laying the Concrete
Next, we will lay the concrete on a polythene membrane then we will vibrate and level it before smoothing it out. For the standard driveway, the concrete is usually between 100mm and 125mm thick.
Adding some colour
Now we will add coloured surface hardener plus we can mix up different colours for a truly unique effect.
Topping it off
Topping is then mixed onto the surface before edges are formed and borders are marked out before a final polish with a steel trowel.
Imprinting Begins
We will start creating your pattern using imprinting mats then it’s time to leave your new patterned driveway to set.
Joint cutting
Once the concrete has set, we will begin cutting movement joints then pressure spraying the first coat of lacquer which allows the colour effects to start shining through. Our installation team will carry on adding coats until finally sealing joints with mastic.