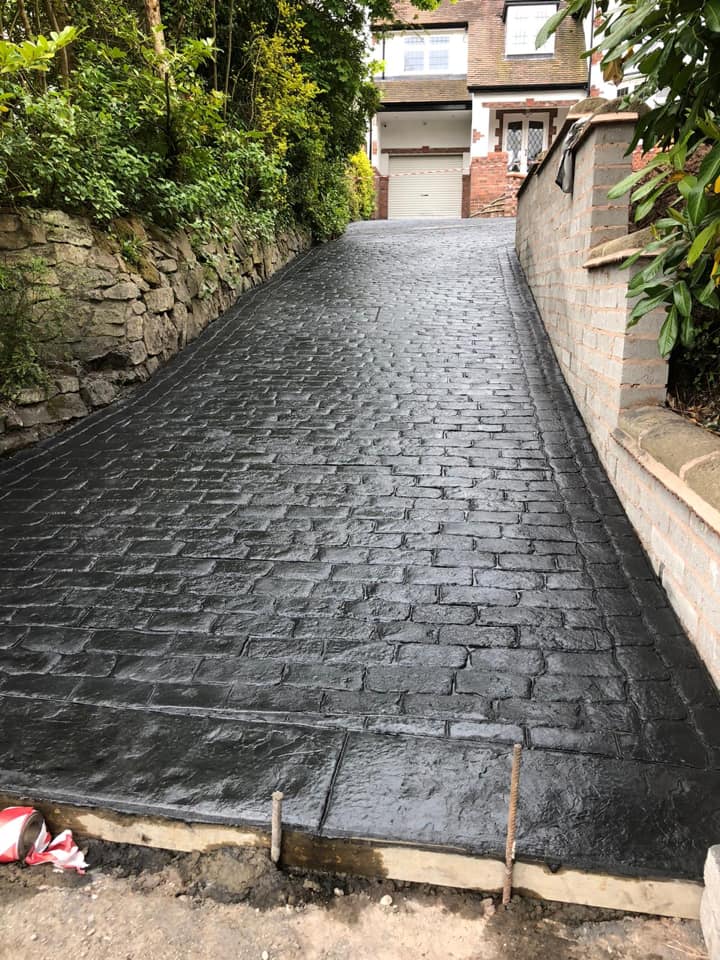
Cleaning Your Pattern Imprinted Concrete Driveway
This time of year, the outside world is starting to look a lot less hospitable. Days are getting darker, and the nights are starting to get a lot colder. But instead of retreating from the outside world straight away, you should spend a little bit of time cleaning your concrete driveway before the onset of winter. This will leave your driveway in a better state when it’s too cold and inhospitable to clean it.
To walk you through the best way of cleaning your concrete driveway, we’ve put together this quick article on the subject. You can use these techniques on both plain and coloured concrete driveways.
What You’ll Need To Clean Your Concrete Driveway
In order to get your concrete driveway cleaned, you’ll need to gather these supplies:
- Pressure washer
- Baking Soda
- Dish soap
- Driveway Cleaner
- Bucket
- Cat Litter
- Water
The Five Stages of Cleaning
Stage 1: Power Wash Your Concrete Driveway
The first stage of cleaning your patterned concrete driveway is the initial cleaning. This should be done using your pressure washer at a relatively low setting — as to not damage the outer layer or warp the colours on coloured concrete driveways. The pressure washer will help to push the water into the pores of the concrete and dislodge any material that has gotten stuck in the under layers of the driveway.
You should pass the pressure washer over your driveway in short, but concentrated streaks — making sure not to spend too much time on one particular area. Again, it’s important not to damage the outer layer of the driveway at this stage.
Once you’ve covered the entire driveway a few times, you can move on to the next stage.
Stage 2: Oil Remover
Getting rid of oil is a little bit more difficult.
Firstly, you should make sure that any excess oil that hasn’t seeped into the surface is removed — preferably using an old towel or something of that nature. Alternatively, we recommend cat litter as an alternative. The next step is to scrub the stain with a mixture of baking soda and water to dislodge anything left. Once this mixture has been scrubbed in, you should wash it away with clean water.
Finally, cover the stain with a mixture of dish soap and water and allow it to soak in for about fifteen minutes before scrubbing your driveway with a heavy-duty brush. Finish the process by rinsing the mixture away with water.
Stage 3: Moss Cleaner
For the third stage of the cleaning process, you should make up a sample of moss cleaner. There are numerous ways of doing this. However, for our money the greenest and safest way is to mix three tablespoons of baking soda to one quart of water. This mixture is safe for young children, animals and most species of insects, but it will eliminate moss quickly.
Cover your entire driveway with this mixture and allow it to soak in for about fifteen minutes. At this stage, you want to leave the moss cleaner to soak in for a day or so. . Depending on how much moss you have, it might be a good idea to apply multiple coats. However, this will depend upon your specific situation.
Stage 4: Driveway Cleaner
Finally, it’s time to apply some driveway cleaner. There are numerous products on the market you can use for this, so we’re going to leave the decision as to which one you choose up to you. Your driveway should be almost clean enough to eat off at this stage, so potentially any will do — just as long as its not acidic!
Stage 5: Wash Your Concrete Driveway Clean
Finally, give your driveway one final pass with water. This will wash away any remaining cleaning material and leave your concrete driveway completely clean and free of any blemishes or impurities.
If you have any questions or concerns about cleaning your driveway, please get in touch with us as soon as possible. Check back to our blogs regularly for more ideas and information for your driveway.