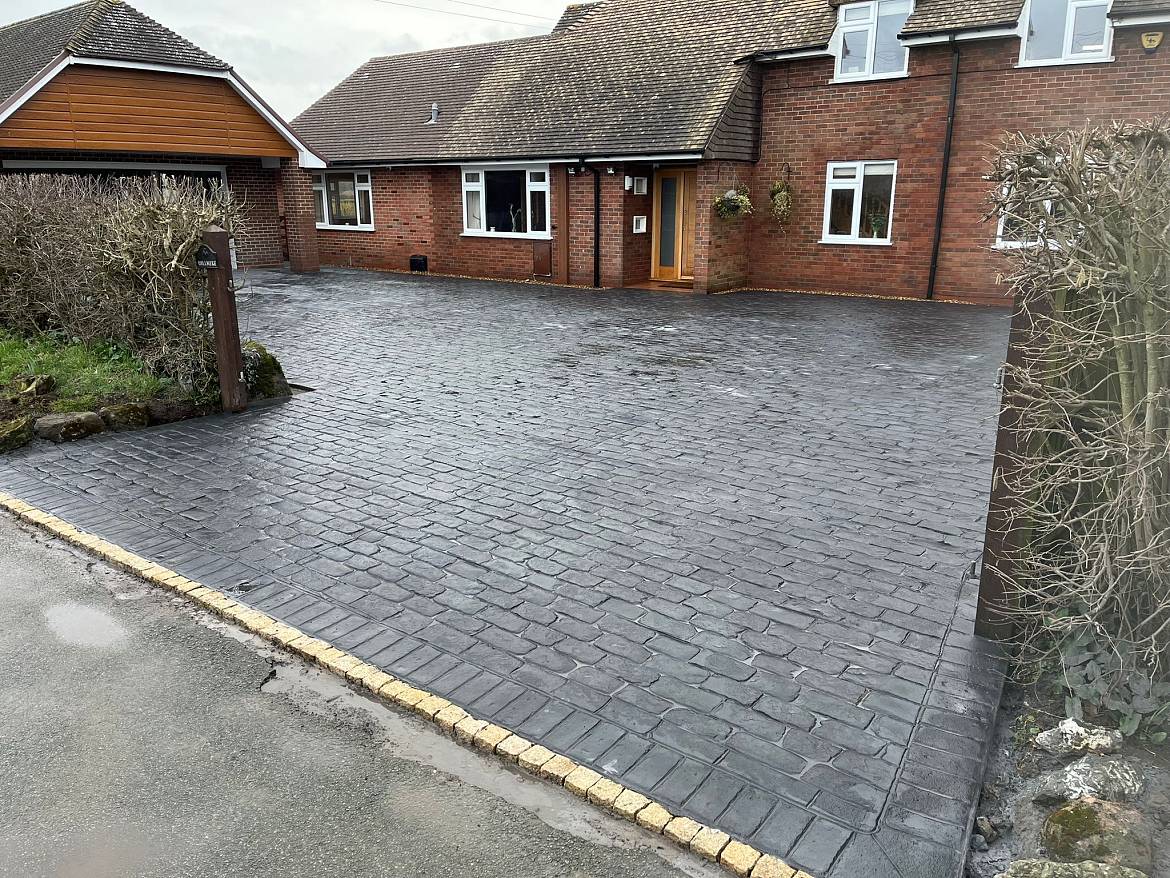
How To Lay A Concrete Driveway
Whether you are considering a new patterned concrete driveway for your home or business premises, it’s important to have a general idea of the installation process. At Cobblecrete, a part of our job is to make sure our clients have all the information they need to know. That’s why in this article, we took the opportunity to discuss the installation process of patterned concrete driveways. Continue reading to learn more about how we lay a concrete driveway.
1) Choose Your Pattern and Colour
Once you have consulted with us and approved for planning permission if you need it, the next step is to choose your desired pattern design, colour scheme, and any extra features. After you have selected what you are looking for, we will draw up a detailed plan to scale including the agreement and all the requirements. Next, this plan is signed by both parties and handed to the installation team.
2) Preparation
Before laying down any concrete, there have to be preparations completed beforehand. Generally, these preparations will take roughly one day. The old surface or concrete is removed with heavy duty tools such as a digger or a jackhammer. The tools used may depend on each site’s requirements. For instance, if the old underlying base is in poor condition, a new sub-base will be laid in order to support the newly laid concrete. Other preparation work includes covering manhole, drainage, and shape confirmation.
3) Laying of the Concrete
Now that the preparations have been made, the concrete is ready to be laid. This generally happens on the second day. The laying of concrete involves the following:
- A concrete mixer truck will arrive and the main part can begin. The concrete is made up and mixed in the truck.
- We pour the wet concrete over the prepared surface then it is raked so the concrete spreads out into all of the corners.
- We screed the newly laid concrete using a large spirit level. This levelling process is essential for all concrete driveways to make them as level as possible.
- We flatten and smoothen the concrete by floating it with large magnesium floats.
- Once there’s no excessive water bleed, a colour surface hardener is applied on the concrete and floated again. This hardener is what permanently colours your new driveway.
4) Imprinting
When the concrete has dried to semi-firm, this is the perfect time to start imprinting your desired pattern. To prevent imprinting tools from sticking to the concrete, an antique release powder is applied before imprinting. This release powder also gives it an antique effect. Once imprinted, control joints are cut into the concrete with a diamond blade to prevent the risk of cracking. The concrete is then power washed, at this point the remaining antique release powder is rinsed away.
5) Add Sealant
The final touching up work involves the lifting and freeing of new manhole covers, removing shuttering, clearing the driveway for any dust or debris and so on. The crack control cuts are filled with a coloured silicone. We need one or two days of dry weather before we can call again to apply the sealant. Finally, the sealant is applied which contains an anti-slip agent for extra grip. We would recommend you to leave your vehicle parked off your new driveway until the sealant has settled and hardened.
Patterned Concrete Driveway Installation By Cobblecrete
As you can see, the installation and laying process of a new driveway is hard work, requiring experienced hands. Cobblecrete has been installing new patterned concrete driveways and patios across Wolverhampton, Bridgnorth, and surrounding areas for more than 30 years. We aim to install your new driveway within one week. Our team of experienced installers are friendly, efficient, and quick.
If you’re interested in a new patterned concrete driveway from Cobblecrete, please contact us for a quotation and further information.

